Soil Testing
 NOTE: If you follow the square foot gardening method and use Mel’s Mix, I generally do not recommend testing your soil. It should be fine, and with a little added fertilizer you should have a plentiful harvest.
However, if your soil contains “dirt” or if you have had problems in the past and are looking for a solution, testing your soil could be a great benefit. I wrote this article in response to many such questions/problems–I decided to come up with some easy solutions, starting with soil testing.
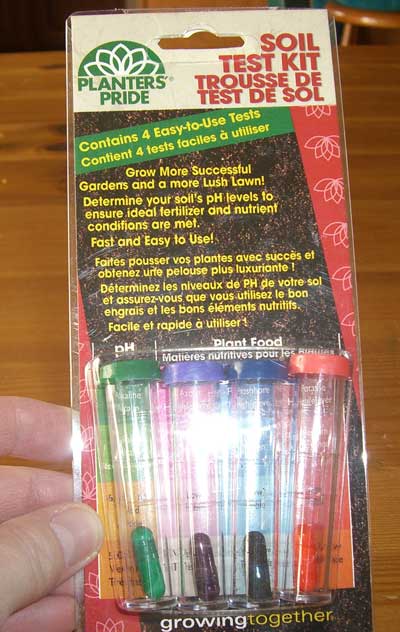
If you want a professional, thorough soil test done, find your local extension office and contact them. I thought it was free, but it really costs about $50 to have soil tested in my area. I hoped there might be a cheaper options, and there is! I found this at my local IFA store for $9:
- 4 test tubes with lids
- 4 capsules
- Color chart
- Instructions
Gather soil sample
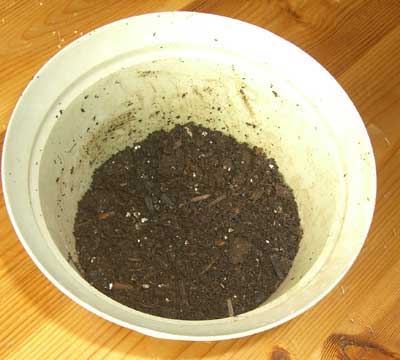
I went out to my garden beds that I have prepared for the season and scooped some soil from each of 3 beds. I made sure to get soil that is about 4″ deep. I only needed about 1/4 cup, so I mixed the three samples and dumped most of it back.
Testing pH
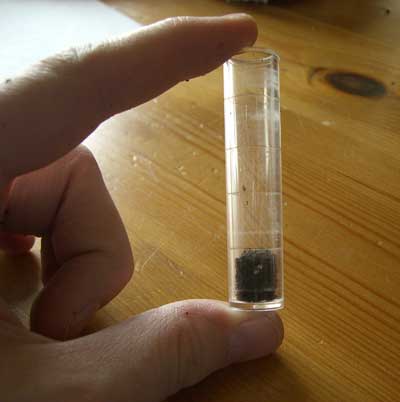
The first test (green) was for pH. The steps for this were slightly different. First, I put a small amount of soil into the green test tube up to the lowest mark.
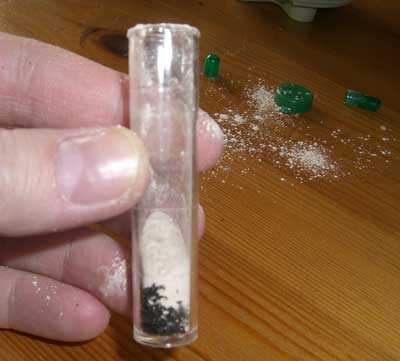
 Next I opened up the green capsule and dumped the powder into the tube. As you can see, I made a mess of things.
 Next I added water up to the top line.
 Then I put the cap on, mixed it up, and let it settle while the color developed. The instructions said this would take a minute, but I think it took more like 5 minutes.
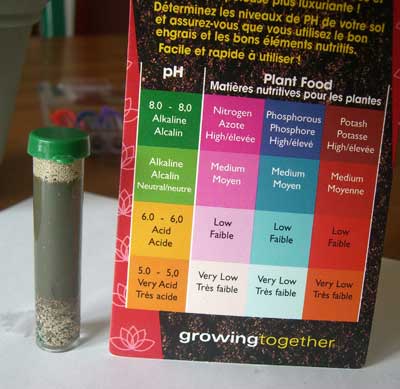 And here are the results. To get an accurate reading, you really need to hold the tube up to natural light (not direct sunshine). It was an overcast day, so I just held mine up and looked through it by the window. From this picture the color looks much darker, but held up to the window the reading was more Alkaline/Normal.
Testing Nitrogen, Phosphorus, and Potassium (N-P-K)
Instead of putting soil directly in the tube, the instructions said to mix 1 part soil and 5 parts water, stir for one minute, then let it settle for 10 minutes.
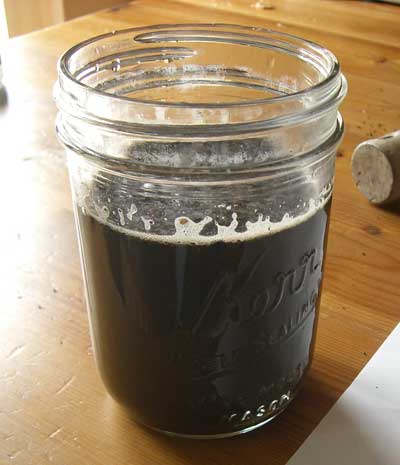 Next, put some water into each tube to the top mark. I used a turkey baster for this–since you want to avoid stirring up the sediment.
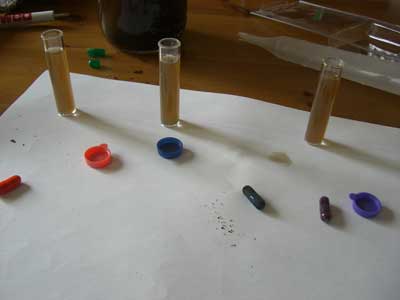 Next I opened the capsules and put one in each tube, replaced the lids, and shook them up well.
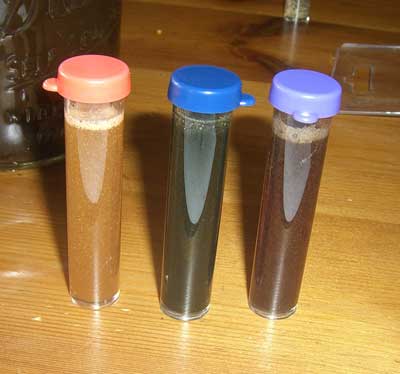 The instructions said to let them sit at least 10 minutes, and allow the color to develop and the sediment to settle. Here are the final results!
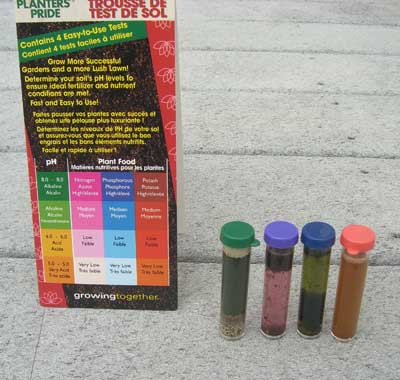 Now I just had to compare the color of the liquid to the color on the chart. Here are my results:
pH–normal, maybe slightly alkaline
Nitrogen–between medium and low
Phosphorus–low
Potash (Potassium)–very low
Conclusions
My first conclusion is that my garden will benefit from fertilizer.
I use Ferti-lome Blooming & Rooting Soluble Plant Food (9-59-8) on all my flowering vegetables (tomatoes, peppers, green beans, peas, zucchini, etc).
This year I am trying a mix of 16-16-8 plus Ironite applied in the spring. I also want to try some home brewed mixes and organic fertilizers.
Second, I am thrilled to find a less expensive option for testing my soil. My kit cost $9 and only included one test. Instead, I suggest buying the Luster Leaf 1601 Rapitest Soil Test Kit. Not only does it include 40 tests (10 for each), but I like that the color chart is printed right on the tube, so you can hold it up to the light and get a really good match. It costs $9.85–a MUCH better deal!
As I read reviews about soil tests it’s clear that these will not be as accurate and reliable as sending in a soil sample and paying $50, but I think it’s a great alternative at a reasonable price.
Also keep in mind that these don’t test for trace elements like boron, calcium, zinc, or iron. I suggest finding ways to supplement your garden with these nutrients as well.




You can actually get lab soil tests done for pretty cheap, around 20 dollars. That will cover both the macro and micro nutrients. If you eat a lot of food grown yourself it certainly is a worthwhile investment.
Donna–yes, Mel’s book says you don’t need fertilizer, but I have not had a lot of success without it. I don’t know if any Texas read my blog, but maybe someone will contact you.
Emily, In Mels New Sq. FT. Gardening Bk . he says you don’t have to add fertilizer, why is that? Maybe it is because he recommends u use 5 different types of compost ?,do you do that?Luv that u r so thorough in your explanations. Your site ?blog?newsletters?e-mails Etc. R awesome.Thank u so much for all that u do. God Bless u.
O another ?, Do u know of anyone from Tx.that is doing a sq. ft. garden ,specifically that lives near San Antonio, I live just 30 min. North of their in A town called Bulverde. It is part of the Hill Country.I would luv to talk to other people from my area about sq. ft. gardening, if u could please pass this message on i would appreciate it.My colors I believe r white and Olive.They could contact me by e-mail @bentkowskid@me.com.Thanks
Donna
Donna
read everything before starting.
Cheryl–I’ve added a little explanation at the top now–generally you don’t have to test your soil. Add a variety of compost every year to your garden, I suggest boosting it with fertilizer, and you should be good to go. But if you’ve had problems and are troubleshooting, start with testing the soil. It’s cheap, easy, and gives you a baseline.
Just an FYI, the best time to test your soil is in the fall. That way, if you need to add lime or gypsum/sulphur, they have time to work. Lime can take 2-4 months and adding gypsum can take as long or more. Espoma has lime/gypsum products. Here is a link –>http://espoma.com/p_consumer/org_trad_overview.html
I’m new to square-foot gardening, so I have a question. Isn’t one of the benefits of SFG not having to test the soil?
Mary–it probably is best to take one sample from each garden bed. I only had one test, so I wanted to get an idea of all the soil. The kit I listed at the end of the article comes with supplies for multiple tests.
It is my understanding that you shouldn’t mix your soil samples if they are taken from different areas/gardens as the results are more specific to the soil from a specific garden. For example if you have a vegetable garden and a flower garden, or several separate raised beds, the soil may test different in each area/bed and you may need different nutrients in each bed.